Free Shipping*
Lower 48. Orders over $100.
2 Year Warranty
On all our radios.

Your cart is currently empty.


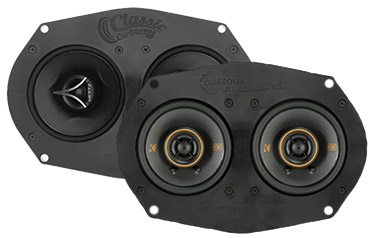
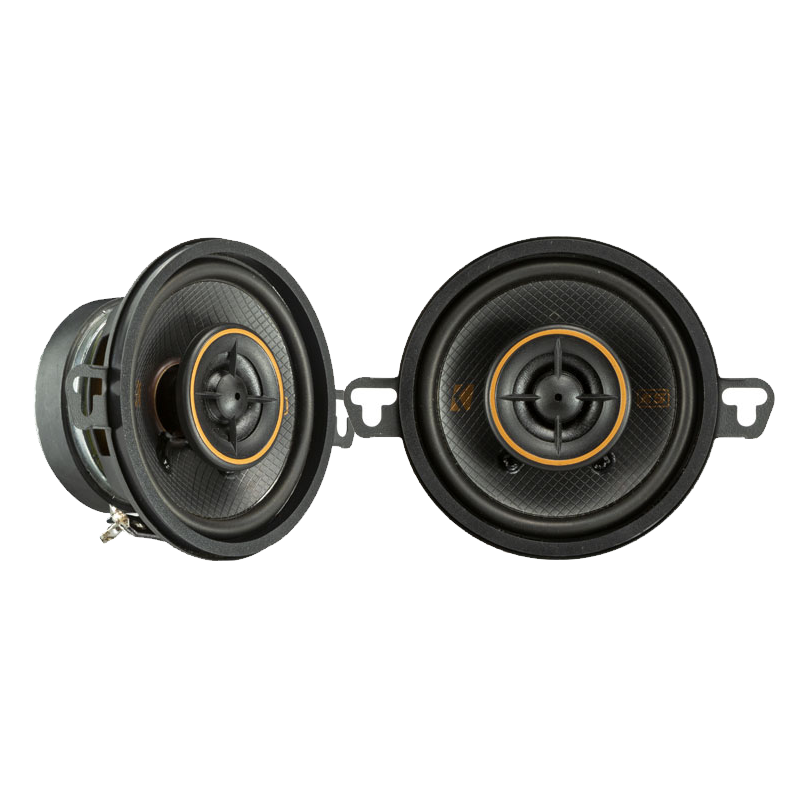
This Kicker KS Series Dual Dash Mount Speaker features two, 3.5 inch Kicker KS Series speakers mounted on a ABS plastic plate that mounts directly to a non-bracketed dash speaker application. Overall we think that these are the best sounding dash speakers for your . The Kicker KS Series is the top of the line, standard speaker offering from Kicker. These speaker feature heavy polypropylene cones for good bass response and a rubber surround for durability and UV resistance.
The Kicker KS Series dual dash speaker will sound better if you are running an amplifier. The KS speakers have a silk dome tweeter and a heavier cone and really shine with the extra power. If you do not plan on running an amplifier, we recommend the Kicker CS Series dual dash speaker. The Kicker CS Series dual dash mount speakers offer the best sound quality if you are going to be powering them directly off of the radio.
If you are looking for great sound quality your classic car, pair this KS Series dash speaker with a pair of Kicker KS Series 6x9 speakers.
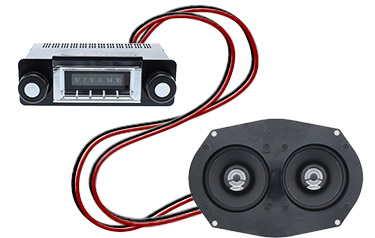
We often get asked about our dash speakers and if they will work with an original radio. It is a somewhat difficult question to answer, but we will explain it here
First, let's explain the difference between today's modern radios and the original radios that came in classic cars.
Most modern car radios work on 4-ohm stereo. The built-in amplifier can power 4 speakers, front left, front right, rear left, and rear right. It powers them safely, without overheating provided it sees a 4-ohm load. Most modern speakers are 4 ohms.
Most of the original radios that came in classic cars had a mono dash speaker and they operated on 8 ohms. In addition, many original radios operated with common ground speakers, where one wire went to the speaker, and the other wire from the speaker went to ground on the vehicle, instead of (-) internally to the radio.
Our dash speakers are designed to play in stereo from a single speaker. We do this two ways. One way is the mount two, 3.5" or 4" speakers to a plate and then that plate mounts to your original dash location. The other way to do it is with a dual voice coil dash speaker. These are single speakers that have two tweeters. One that will play the left channel and one that will play the right channel, thus giving you stereo sound. With our dash speakers, each speaker, or side is a 4 ohm load in order to optimize and play on a modern radio, safely.
If you have a modern, 4 ohm radio, you simply wire the speakers as you would any speaker and connect Front Left (+) to the left side, (+) terminal on the speaker and do the same with the negative wire and terminal. You would repeat for the right side. Now you have two speakers, both are 4 ohms, the radio is happy!
**Warning - Make Sure You Know What You Are doing**
Since your original radio operated on 8-10 ohms, your original radio needs to see an 8 ohm load. Also, your original radio likely only played in mono and not stereo. If we just connect front left, or front right, we are only going to get one channel of the music. We want and should get both. So how do we do that? We need to essentially bridge the radio. Here is why it works and how to do it.
Ohms Law Says that when you wire in parallel, you take the impedance of the speakers in the system (4) and divide by the number of speakers (2). If we just bridge it, the radio will see a 2 ohm load, it will over head and we will have ruined a $500-2000 piece of vintage equipment. LETS NOT DO THAT! If we just wire 1 speaker side to the original radio, it will be wired in parallel, and we will have a 4 ohm load, divide it by 1 speaker and the final impedance will be 4 ohms. Bad news is that this will still cook your original radio.
The other aspect of ohms law says that if you wire in SERIES, you take add the impedance of each speaker in the series. So, if we wire a 4 ohm speaker and a 4 ohm speaker in series, we get...that's right, an 8 ohm load. We are in business. Wiring in series is the same principle on how batteries work. We connect the (+) wire from the front right channel to the positive terminal on the front right speaker. Now, very important, we make a jumper wire and connect the (-) terminal on the front right speaker to the (+) terminal on the front LEFT speaker. Then, we connect the Front Left (-) wire from the radio to the (-) terminal on the front left speaker. When done properly, this will give you an 8 ohm load and should keep your original radio working properly with a new, upgraded dash speaker. If you have an vehicle that had a single rear speaker, and you want to use your original radio, repeat the same steps, but for the rear wires to the rear speaker.


Copyright © 2026 ClassicCarStereos.com
 5-Star Rating!
 Warning: Cancer and Reproductive Harm -